|
|
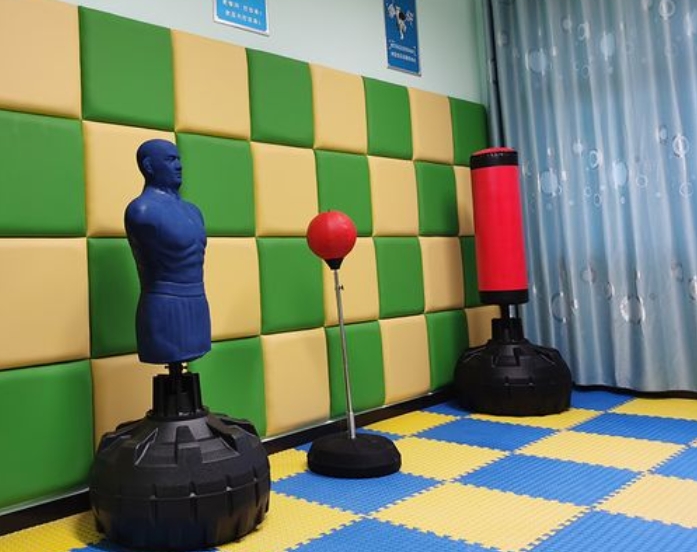
Psychological vent wall installation guide: detailed explanation of steps and precautionsThe installation process of the psychological vent wall is relatively simple, but attention to details is required to ensure the installation effect and safety of use.
1. Preparation Select the room: First, select the room according to the characteristics of the psychological catharsis room. The psychological catharsis room should be far away from the consultation room, office, music relaxation room and other quiet places to avoid the noise generated during catharsis to interfere with other areas. Prepare materials: Prepare installation tools and materials such as vent wall, universal glue, roller brush, ruler, pencil, seamless nails (if necessary), and decorative strips. Second, wall treatment Clean the wall: ensure that the wall is clean, smooth, and free of dust and oil. You can wipe the wall with a damp cloth and wait until the wall is completely dry before proceeding to the next step. Measure the wall: Use a ruler and pencil to mark the installation position and dimensions of the vent wall on the wall. Ensure that the vent wall covers the desired area completely and leaves an appropriate margin at the edge. Third, install the vent wall Apply universal glue: Pour the universal glue into the container, and use a roller brush to evenly apply the universal glue on the back of the vent wall and the wall. Pay attention to apply evenly to avoid bubbles and leakage. Wait for natural air drying: After applying the glue, wait about 1-2 minutes for the glue to dry naturally. This can increase the viscosity of the glue and ensure that the vent wall can be firmly pasted on the wall. Paste the vent wall: Paste the vent wall on the wall according to the predetermined position. During the paste process, attention should be paid to adjusting the position and Angle of the vent wall to ensure that it is closely fitted with the wall, smooth and wrinkle-free. Fixed edges (if necessary) : If the edge of the vent wall needs to be fixed, it can be fixed using tools such as seamless nails or double-sided tape. Pay attention to avoid damaging the surface of the vent wall when fixing. Iv. Follow-up treatment Remove excess glue: Excess glue may spill during installation. Use a damp cloth or a scraper to clean up the excess glue and keep the wall clean. Check the installation effect: After the installation is completed, carefully check the installation effect of the vent wall. Ensure that the vent wall is firm and not loose, smooth and wrinkle-free, and the edge is not warped. Add decorations (if necessary) : Decorative strips or other decorations can be added around the vent wall as needed to increase aesthetics and practicality. Through the above steps, the installation of the psychological vent wall is completed. In the process of use, attention should be paid to keeping the wall dry, avoiding sharp objects scratching the surface of the vent wall, etc., in order to extend the service life of the vent wall. |